Disclaimer: This post may contain affiliate links which means I may receive a small commission from purchases made through links. However, these are products that I would wholeheartedly recommend to my family and friends regardless if I make a small commission at no cost to you as a consumer.
Why do we absolutely need a strategy?
With the rising inflation and increasing cost of groceries, finding ways to save money and streamline our daily routines is becoming more important than ever. One effective strategy is to incorporate batch cooking into your strategy. This can help you save money on groceries by making the most of what you have and reduce food waste and simplify weeknight cooking.
Leftovers often have a bad rap – they’re seen as unappetizing and something you eat out of necessity, but this doesn’t have to be the case! Not only can leftovers be tasty and enjoyable when done right, but a meal plan with leftovers in mind can save loads of time and money. With some meal prepping and the right techniques, you’ll look forward to eating your leftovers instead of dreading them. All it takes is a bit of knowledge of food safety guidelines and meal-planning strategies.
When meal planning with leftovers, it’s important to plan for variety. Choose recipes that you can mix and match during the week so that you don’t end up eating the same meal over and over again. For example, if you make a big batch of beans on Monday night, you could use those in tacos later in the week or as part of a burrito bowl or stew! It’s also helpful to invest in some meal prep containers so that your food is easy to store and take on the go, we will provide some options below.
Meal planning and prepping can be overwhelming so we are going for something that is extremely simple and doesn’t actually take too much effort to achieve.
In this blog post, we’ll explore how to create a meal prep strategy that’s both cost-effective and time-efficient, so you can save time and money without sacrificing delicious and healthy meals.
We’ll provide tips on planning, preparing, and storing your meals, as well as creative recipe ideas for using up your leftovers. So, let’s dive in and learn how to master the art of meal prepping in the face of rising grocery costs!
What is our simplified meal prep strategy?
Cooking two batches of a meal and saving one for next week is a great strategy for meal prepping with leftovers. It allows you to make the most of your time in the kitchen and ensures that you have a healthy and delicious home cook meal ready to go for the next week. Sometimes, if I’m running out of freezer space, I would just have the same meal later in the week, just need to space it out a few days.
Step 1 – Let’s Start Cooking!
To get started, choose some meals that you enjoy as your favorite weeknight meals that can be easily reheated or repurposed. Cook a double batch of this particular dish. So you could have a meal now and have one for later. Compared to cooking a dish from scratch again next week, cooking a double batch of the same dish is much faster.
This also streamlines your grocery shopping, so you need fewer trips to the store. Not only that, you could buy in bulk and not have to worry about food waste or freezer burn.
Take inspiration in the frozen section of the grocery store to see what meals could be frozen and how to reheat them.
Here are some ideas for dishes that reheat well:
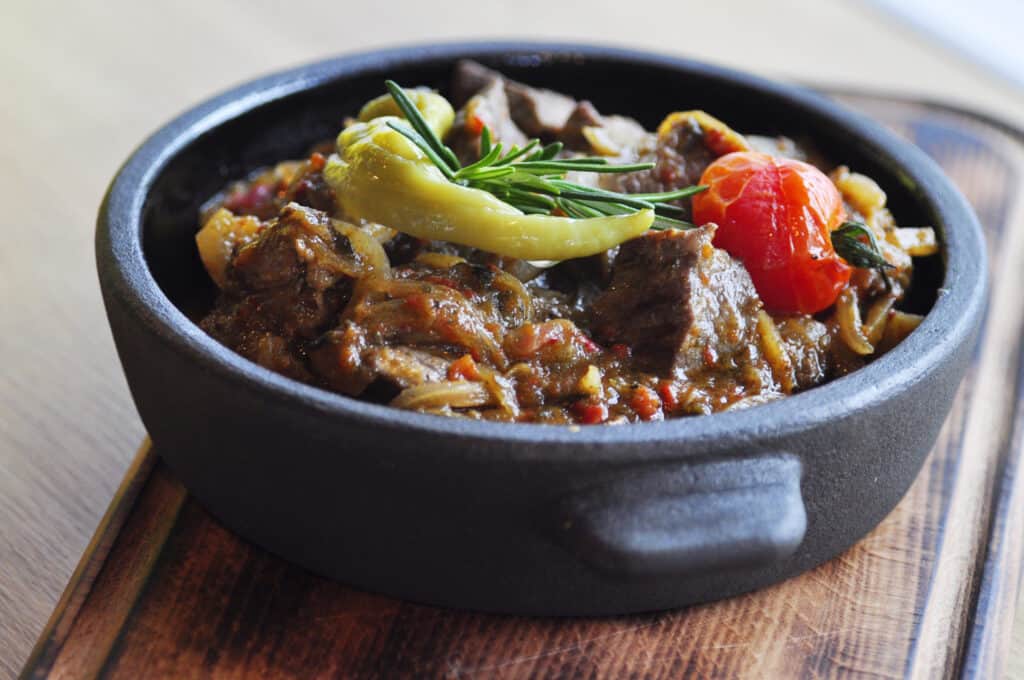
- Beef stew
- Chicken drumstick stew
- Chicken Pot Pies
- Mac and Cheese
- Soup
- Chili
- Spaghetti sauce or marinara sauce

Step 2 – Storage
Once the meal is cooked, let it cool and divide it into two portions. Place one portion in the fridge or freezer for next week, and use the other portion for meals this week. This will help you save time and money by eliminating the need to cook every night.
Use storage containers with tight-fitting lids that are reusable and easy to clean, such as glass containers.
Label your containers with the date and contents, so you know what you have on hand and how long it’s been in the fridge or freezer. I love freezer meals so that’s what I normally would go for. Also, I don’t need to worry about when I will be using that meal.

Here are some storage options:
- Glass containers: These containers are reusable, easy to clean, and have tight-fitting lids that help keep your food fresh. They’re great for storing leftovers, meal-prepped meals, and snacks. Best dishes for glass containers: soups, stews, casseroles, roasted vegetables, and grains. If it is a dish that you plan to reheat in the oven, make sure it’s also oven safe.
- Mason jars: These jars are a versatile and affordable option for storing food. They come in different sizes and are great for portion control. Best dishes for mason jars: salads, dressings, overnight oats, and soup. If you plan to freeze with a mason jar, be sure to not fill it to the top so it has room to expand while freezing
- Ziplock bags: These bags are a convenient and affordable option for storing food. They’re great for portion control and can be used in the fridge or freezer. Ziplock bags are perfect for storing snacks, sliced fruits, and vegetables. Best dishes for Ziplock bags: snacks, sliced fruits, and vegetables. Note: While Ziplock bags are a popular option, it’s important to note that they are not the most eco-friendly choice as they are disposable and not meant for long-term use. If you are looking for a more sustainable option, consider using reusable silicone bags instead.
- Silicone bags: These bags are a reusable and eco-friendly option for storing food. They’re easy to clean and can be used in the fridge or freezer. Best dishes for silicone bags: marinated meats, fruits, and vegetables.
- Beeswax wraps: These wraps are a natural and eco-friendly option for storing food. They’re made from cotton fabric coated with beeswax, which makes them pliable and sticky. Best dishes for beeswax wraps: sandwiches, cheese, and produce.
- Vacuum seal bags: These bags are a great option for storing food in the freezer. They help prevent freezer burn and keep your food fresh for longer. Best dishes for vacuum seal bags: bulk meats, soups, stews, and sauces.
Step 3 – Reheating
When reheating your leftover meal, be sure to follow safe food handling practices. Heat the meal thoroughly before consuming, and discard any leftovers that have been sitting in the fridge for more than a few days. Reheating leftovers doesn’t have to be a daunting task! With the right techniques, you can enjoy your favorite meals in no time.
There are several methods for reheating your leftovers, each with its own step-by-step instructions. Whether you are using an oven, stovetop, or microwave, there’s a way to make sure your meal tastes just as good as when it was first cooked! Read on for all the details on how to reheat leftovers safely and deliciously.
1. Stovetop
For leftovers that have a lot of liquid, like sauce, gravies, or soup, heating on the stovetop is the best option. Just put leftovers into a size-appropriate pan, and use either low or medium heat to bring it up to a safe temperature so that your food retains its flavor and moisture. Stir occasionally to ensure your food heats evenly. Check every once in a while to see if any spots are not fully heated yet.
2. Oven
When it comes to reheating food in the oven, dishes like lasagna, pizza, and casseroles work best. To reheat these types of dishes, preheat your oven to 350°F (177°C) and place the meal on a lightly greased baking sheet. Cook for 10–15 minutes or until it is hot all the way through. If you’re reheating something with sauce or gravy, you may want to cover it loosely with foil so that the top does not dry out before the meal has been cooked completely. For larger meals, you may need to increase the cooking time slightly – always be sure to test for doneness before serving. Enjoy!
3. Microwave
For dishes that don’t require a lot of moisture, opt for the microwave oven as it will heat your food quickly. Dishes such as soups, pasta, rice, and potatoes are all great options.
Place the meal on a plate and heat for 1–2 minutes at a time until it is hot enough to eat. A great tip is to sprinkle a few drops of water onto the dish so that when it’s reheating in the microwave with a cover, the food will effectively steam. Stir every time you are checking the temperature to ensure food is heating up evenly. Always check the meal regularly while reheating to avoid burning or overcooking.
Covering with a lid will help keep moisture within the meal so that it doesn’t dry out while cooking. For larger meals, you may want to increase the cooking time slightly or start by microwaving smaller portions.
Reheating food in the microwave could sometimes dry out food. Having a specialty tool, like the AnyDay cookware, will be extremely helpful. These containers are made to cook food from scratch in the microwave so reheating food is an easy job for this tool to handle. They’re made of sturdy frosted borosilicate glass to go seamlessly from microwave to table to dishwasher. The silicone-rimmed glass lid keeps the steam in the dish when you’re cooking, resulting in delicious, evenly cooked food!
Additionally, adding some extra butter or oil when reheating in the microwave can give your meal an added boost of flavor!
4. instant pot
Believe it or not, the Instant Pot is a great way to reheat food. You could either set it to 0 minutes pressure cook time or use its steaming function. Food could be cooked and reheated from frozen that way.
For food you plan to reheat in an Instant Pot, you could freeze them in a bowl that will fit the inner pot to ensure the frozen block of food will fit the inner pot when it’s still frozen. When you are ready to reheat, just rinse the container with a little bit of warm water, then the content should release from the container into the inner pot. See our blog post on the list of the most valuable kitchen tools.
Conclusion
Meal planning with leftovers is an easy and effective way to simplify weeknight cooking. Whether you are reheating in the oven, stovetop, or microwave, there is a method that will work best for your meal. With meal planning and preparation, you can enjoy delicious meals repeatedly without starting from scratch each time! Reheating leftovers is an easy way to make the most of mealtime while taking care to reduce food waste. Happy meal prepping and reheating! Enjoy your delicious leftovers safely and deliciously!


I am going to follow these suggestions. You have some really good and useful content in this blog
I love my instant pot but I never thought about reheating in it. What a great idea to set it to zero and let the warm up time reheat. Also I love the suggestion of frozen food in the instant pot. This for me is going to be a game changer. Thank you for your post.
I love the tips you provide in this post to meal prepare using leftovers. Great read!
Without leftovers I would be cooking all the time! With four kids I have to have meals ready. I love your cooking tips for big families. They are a lifesaver 🙂